Getting Started
Installing LilGuy
Install for Windows
The LilGuy installer supports only the 64bit version of Microsoft Windows. Most modern PCs use a 64-bit operating system.
To determine which version of Windows is installed, press the Windows key on the keyboard and then type in About. Click About Your PC in the menu. The System Type listing under Device Specifications will show if the installed version of Windows is 32 or 64-bit.
- Download lilguy-0.13-x86_64.msi
- In your downloads folder, find lilguy-0.1.3-x86_64 and double-click on the file.
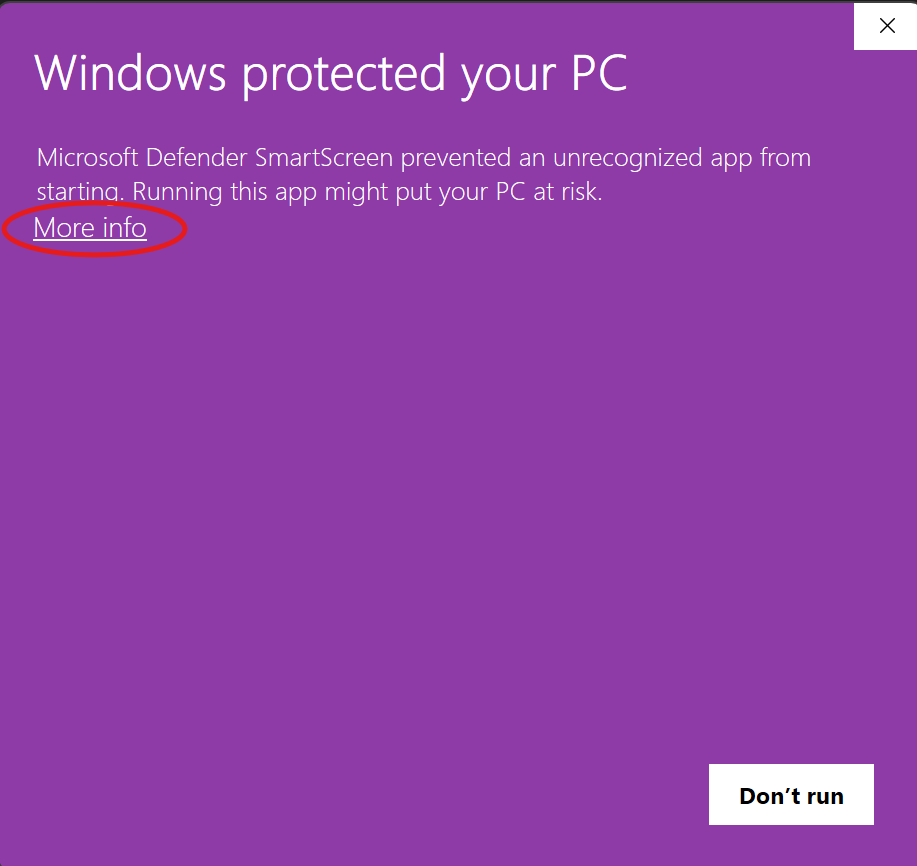
- Microsoft will pop up a box saying that Windows protected your PC because the file does not have a publisher as an open-source project. Click on More info.
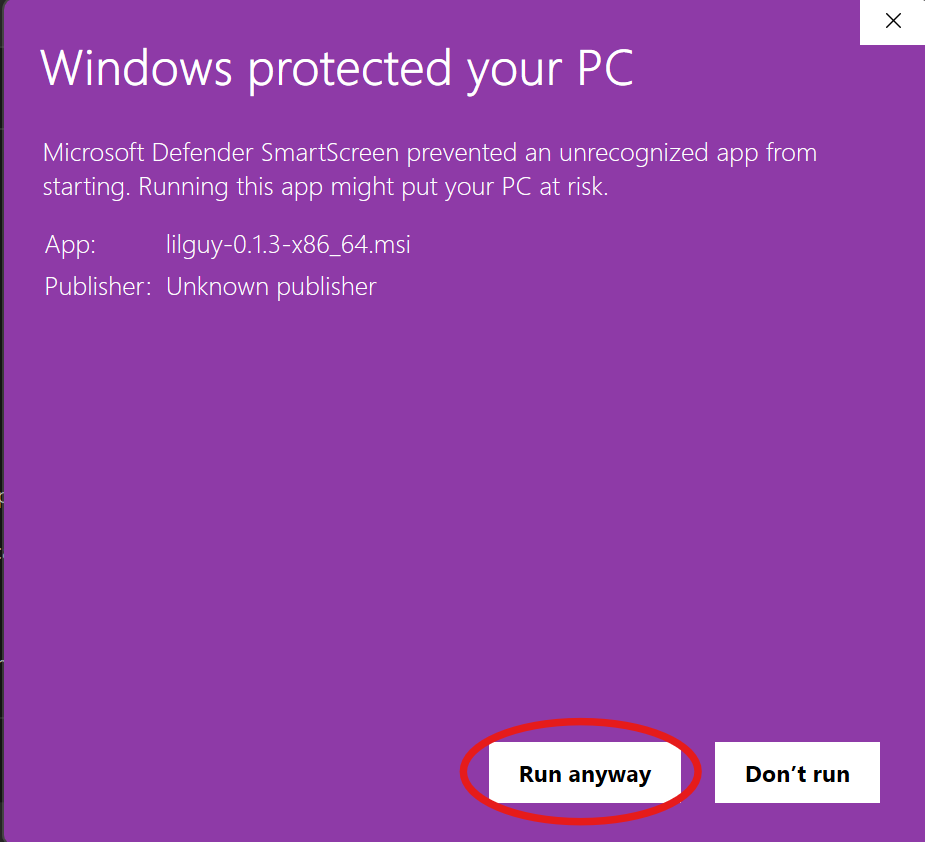
- Click on on Run anyway to install the software.
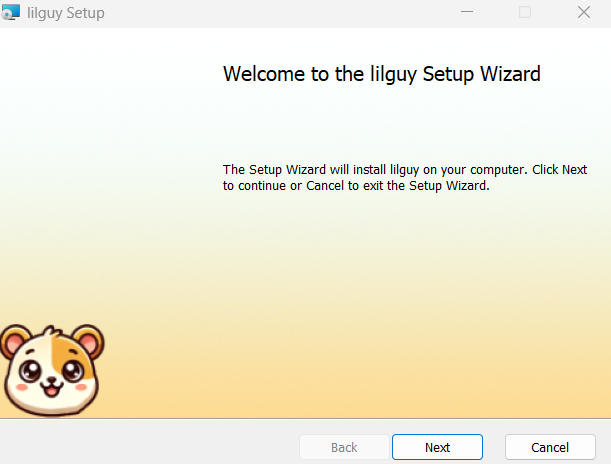
- The LilGuy Setup Wizard should open. Click next.
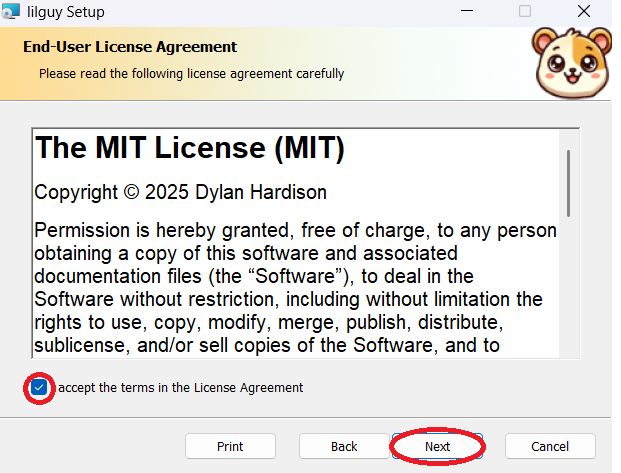
The next page gives licensing information (MIT license).
Click the checkbox to accept the MIT license for using the software, and then click next.
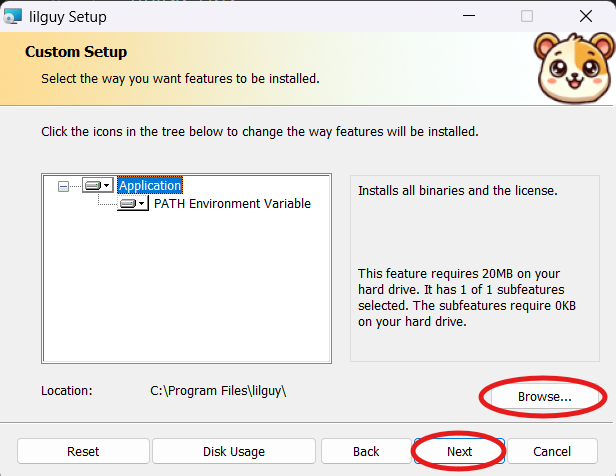
- The next screen is asking where you would like to install LilGuy. You can select the default folder, or use the Browse button to choose a new location. Once you've made your selection, click next.
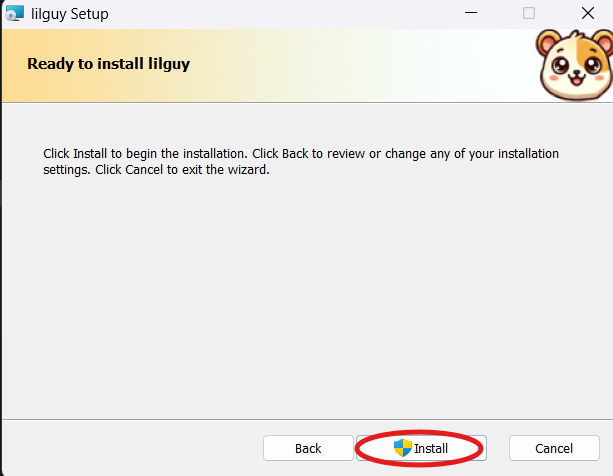
- Click Install.
- The User Access Control screen may appear. To install, click Yes.
- After installation, you can click Close or Finish on the installer wizard. LilGuy is now installed.
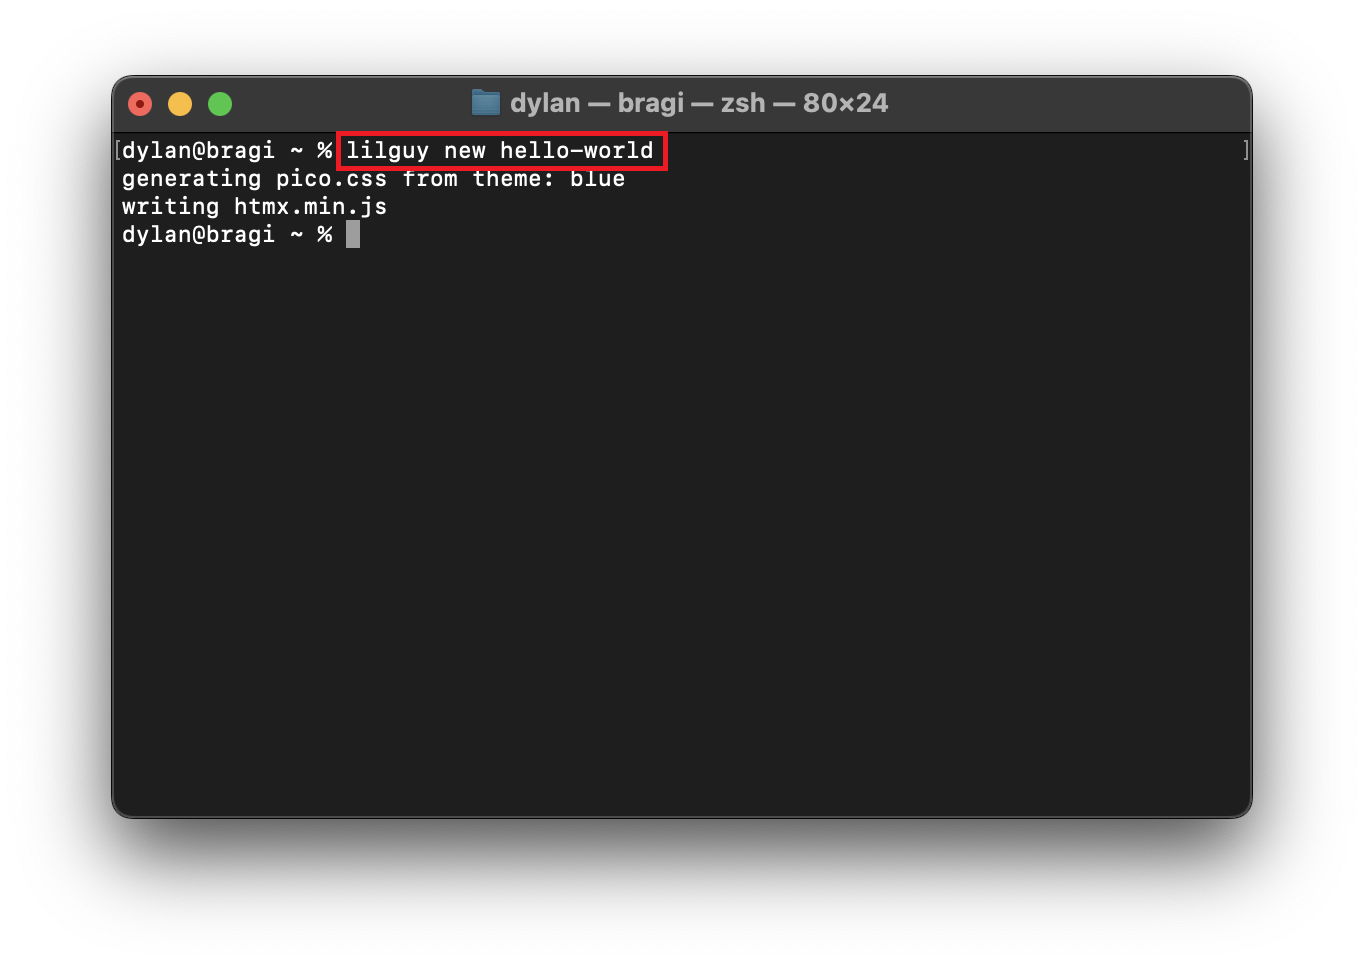
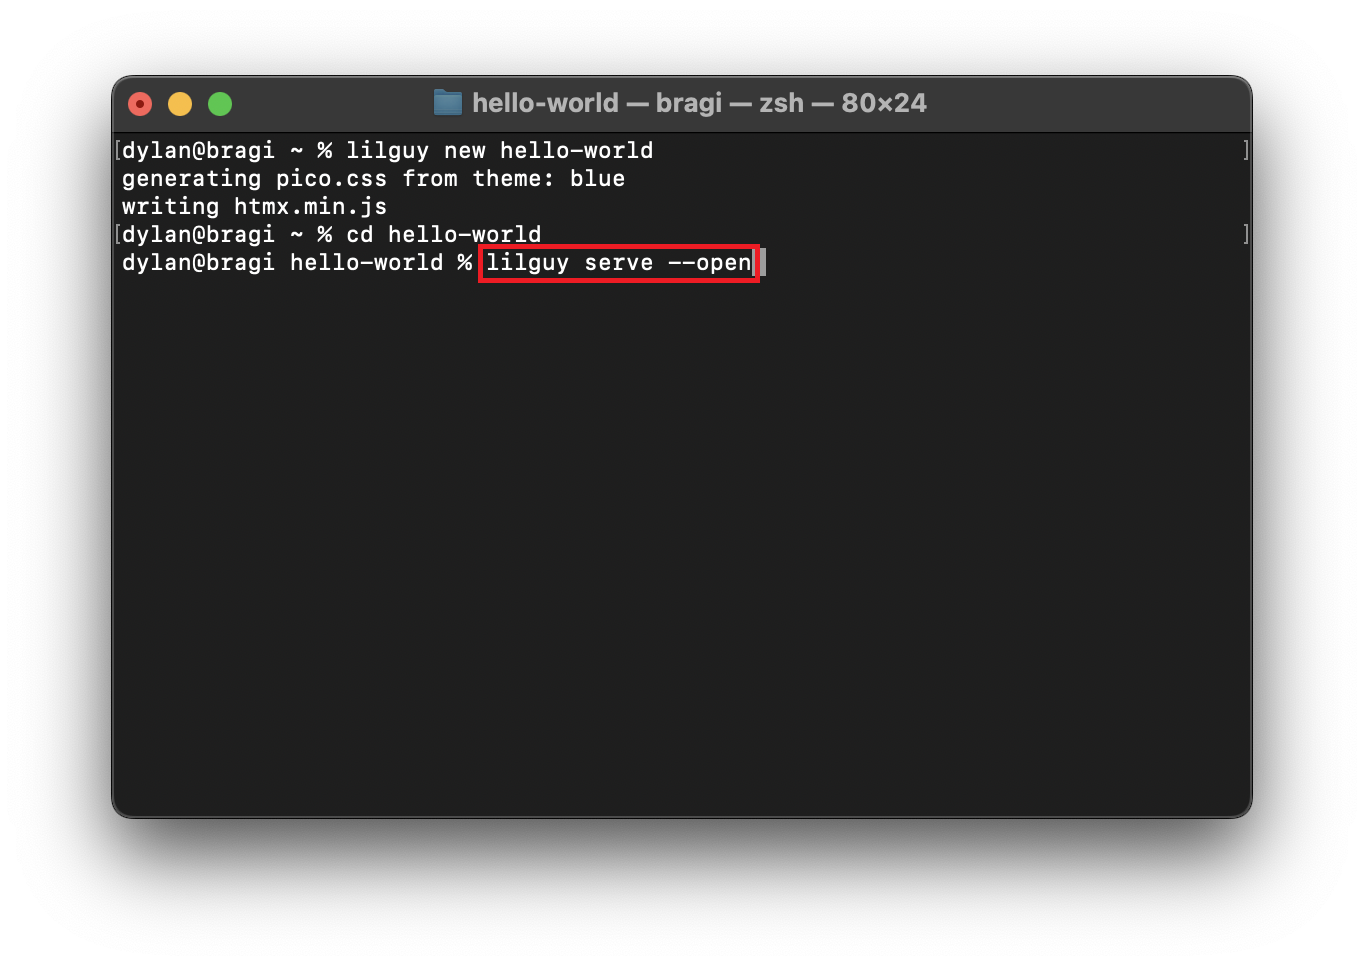
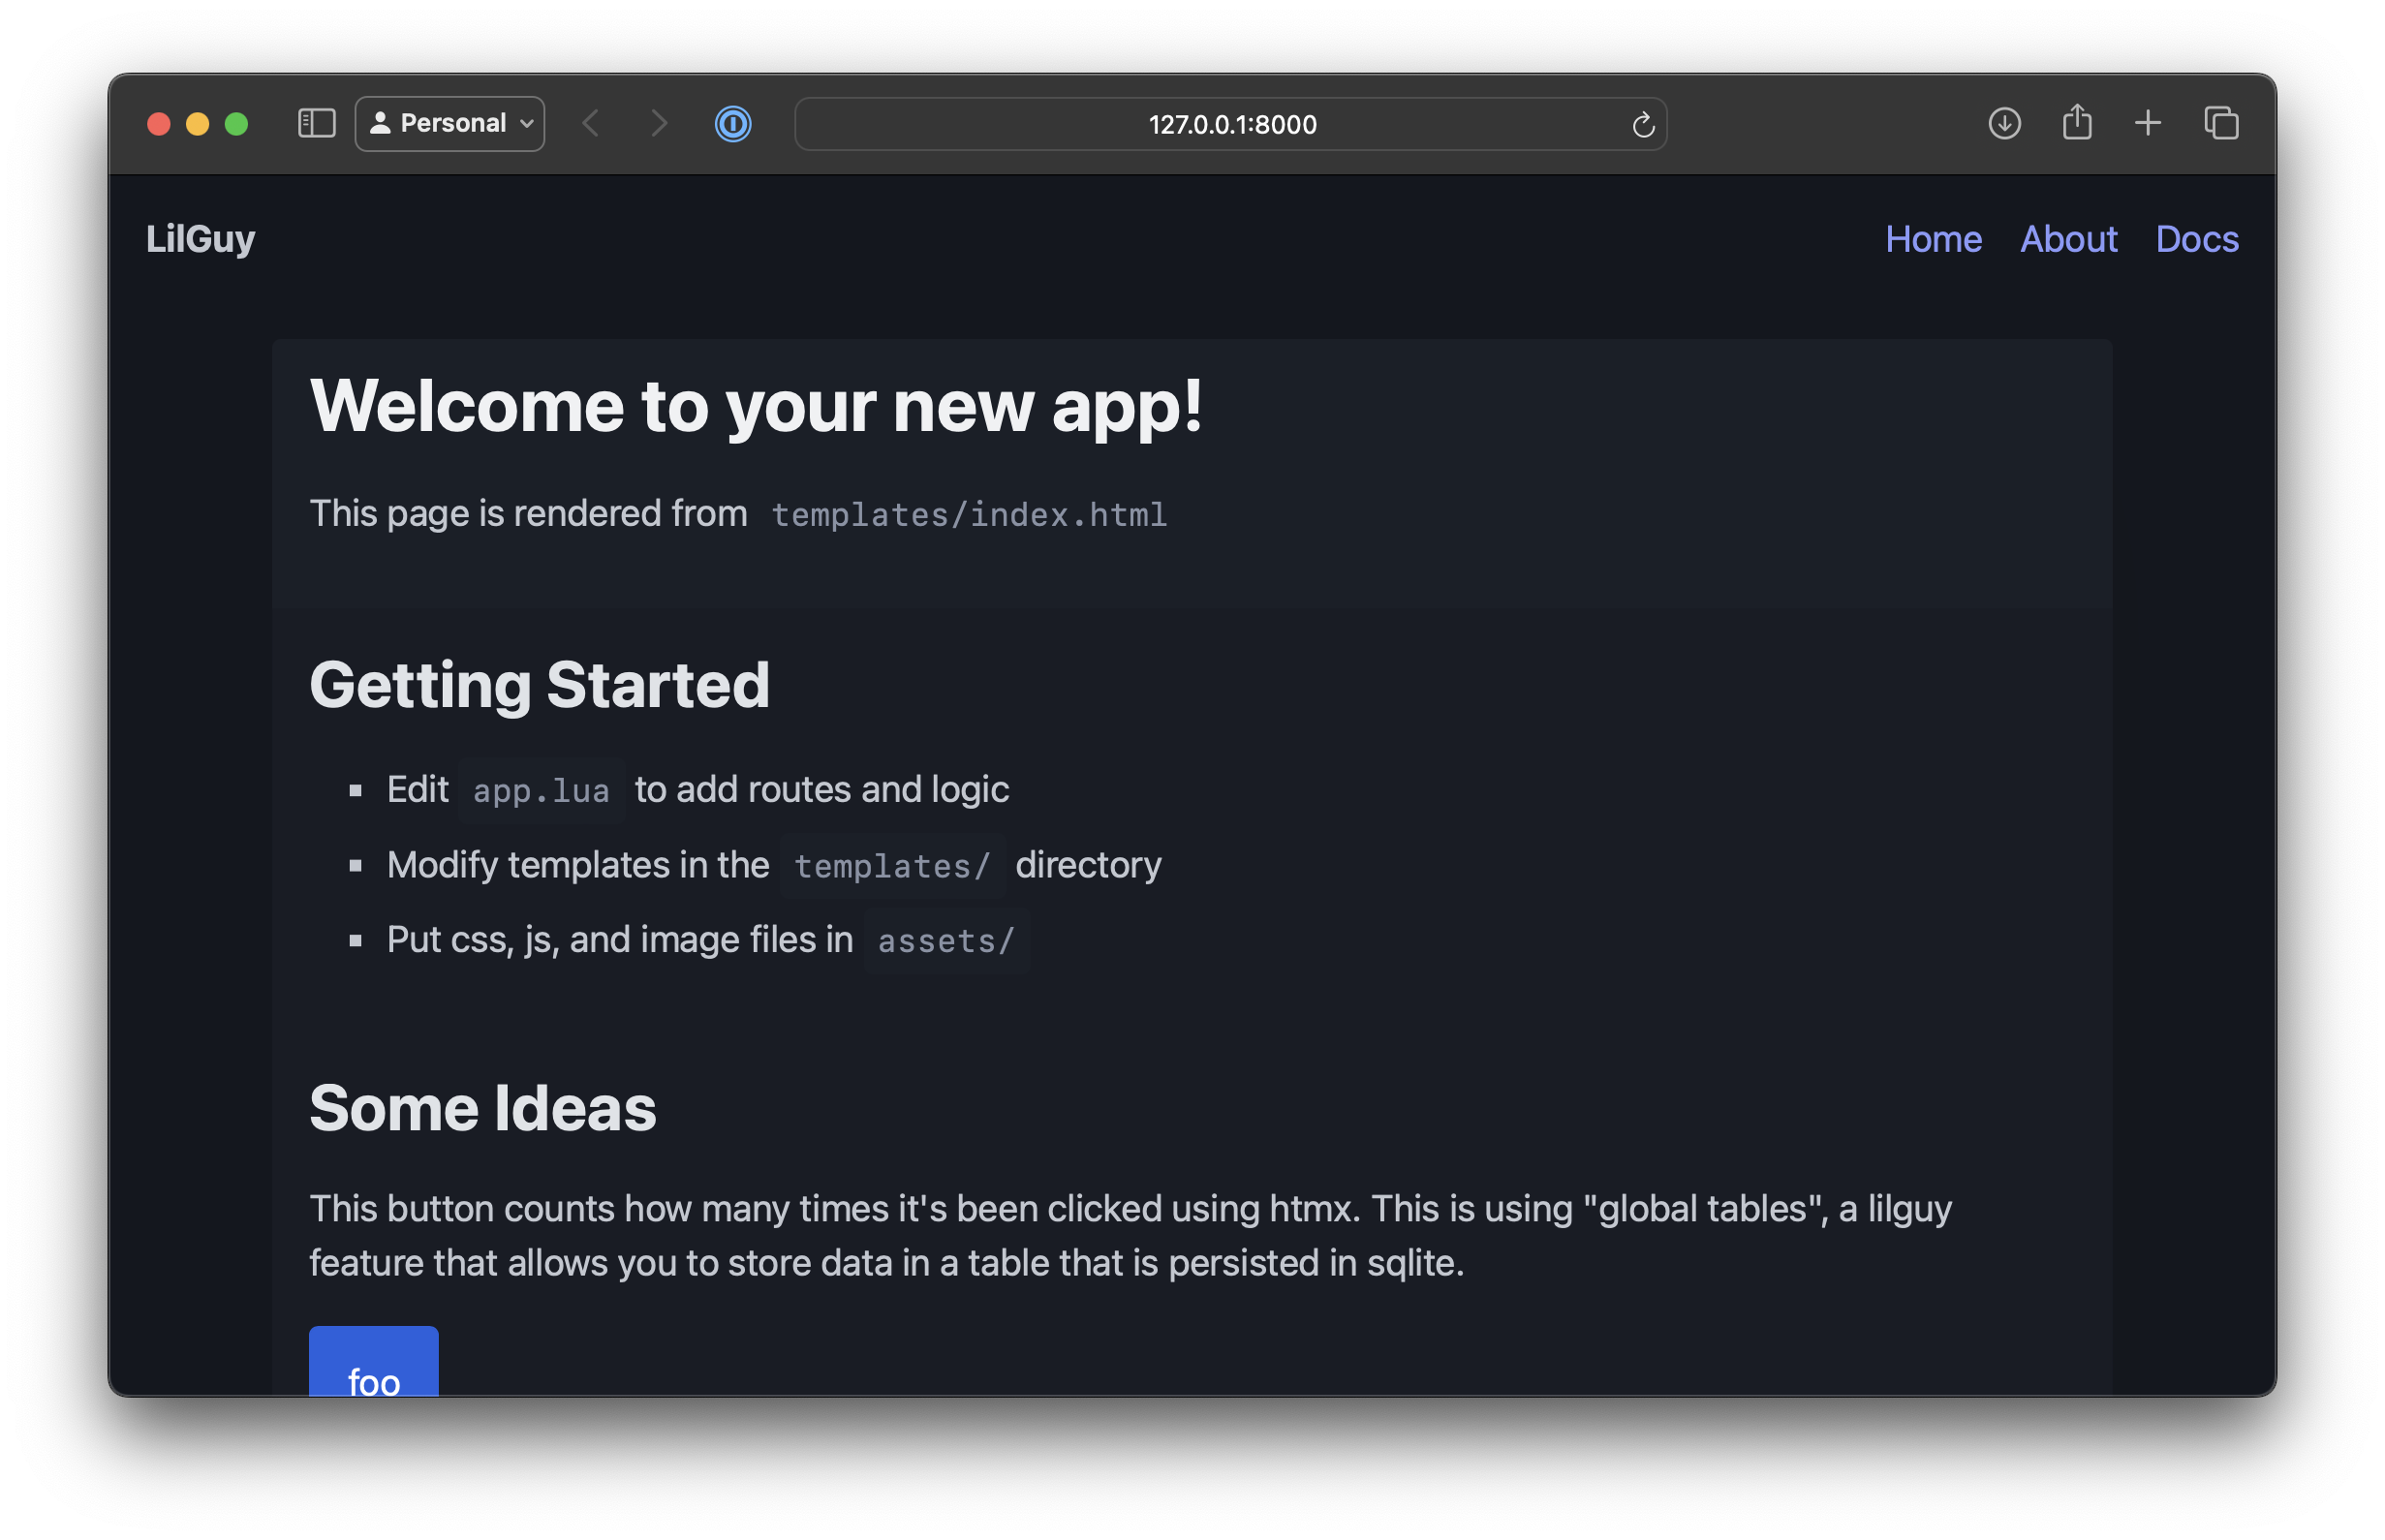
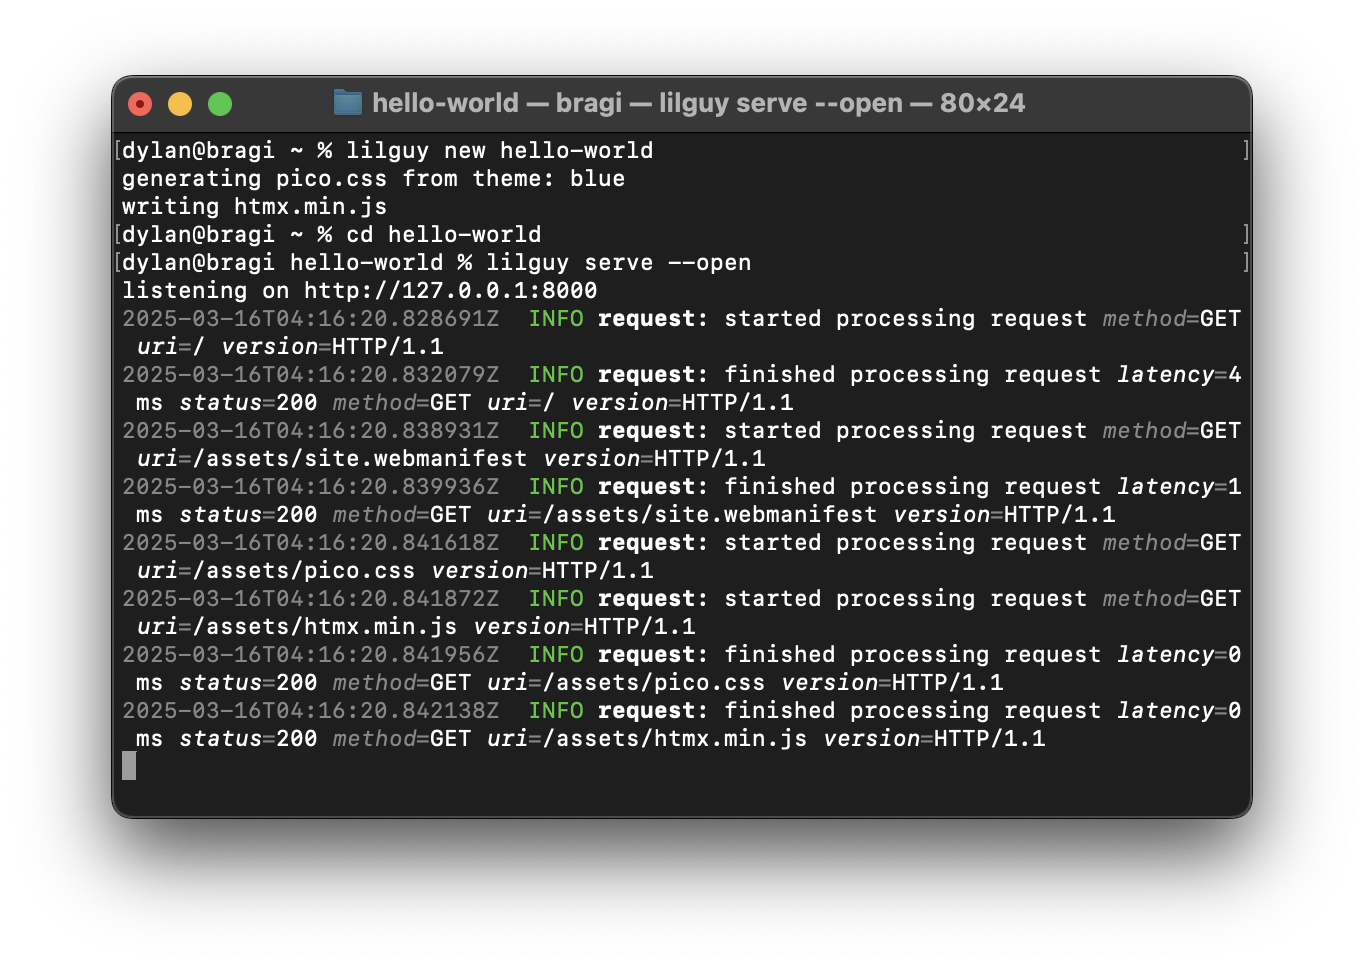
For instructions on starting the LilGuy server, see the usage section.
Uninstall (for Windows)
-
Open the Add or remove programs tool.
This can be found by pressing the Windows Key or going to the search bar and typing in Add or remove programs.
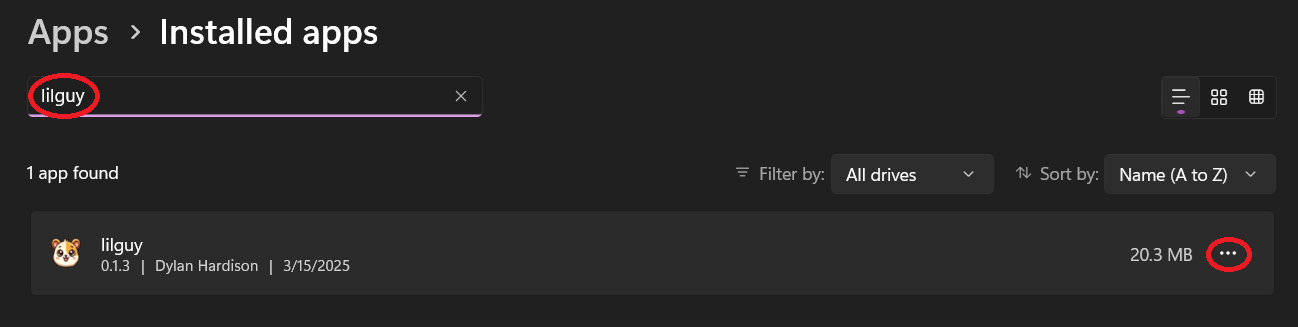
- In the search bar, type lilguy.
- Click the three dots ... on the right side and select Uninstall from the dropdown menu.
- A warning will appear saying the app and its related info will be uninstalled. Click Uninstall.
- The User Access Control full-screen menu will appear. To finish uninstalling, click Yes.
Installing For Mac
- Download lilguy-0.1.3.pkg
- Click on the downloaded "pkg" installer.
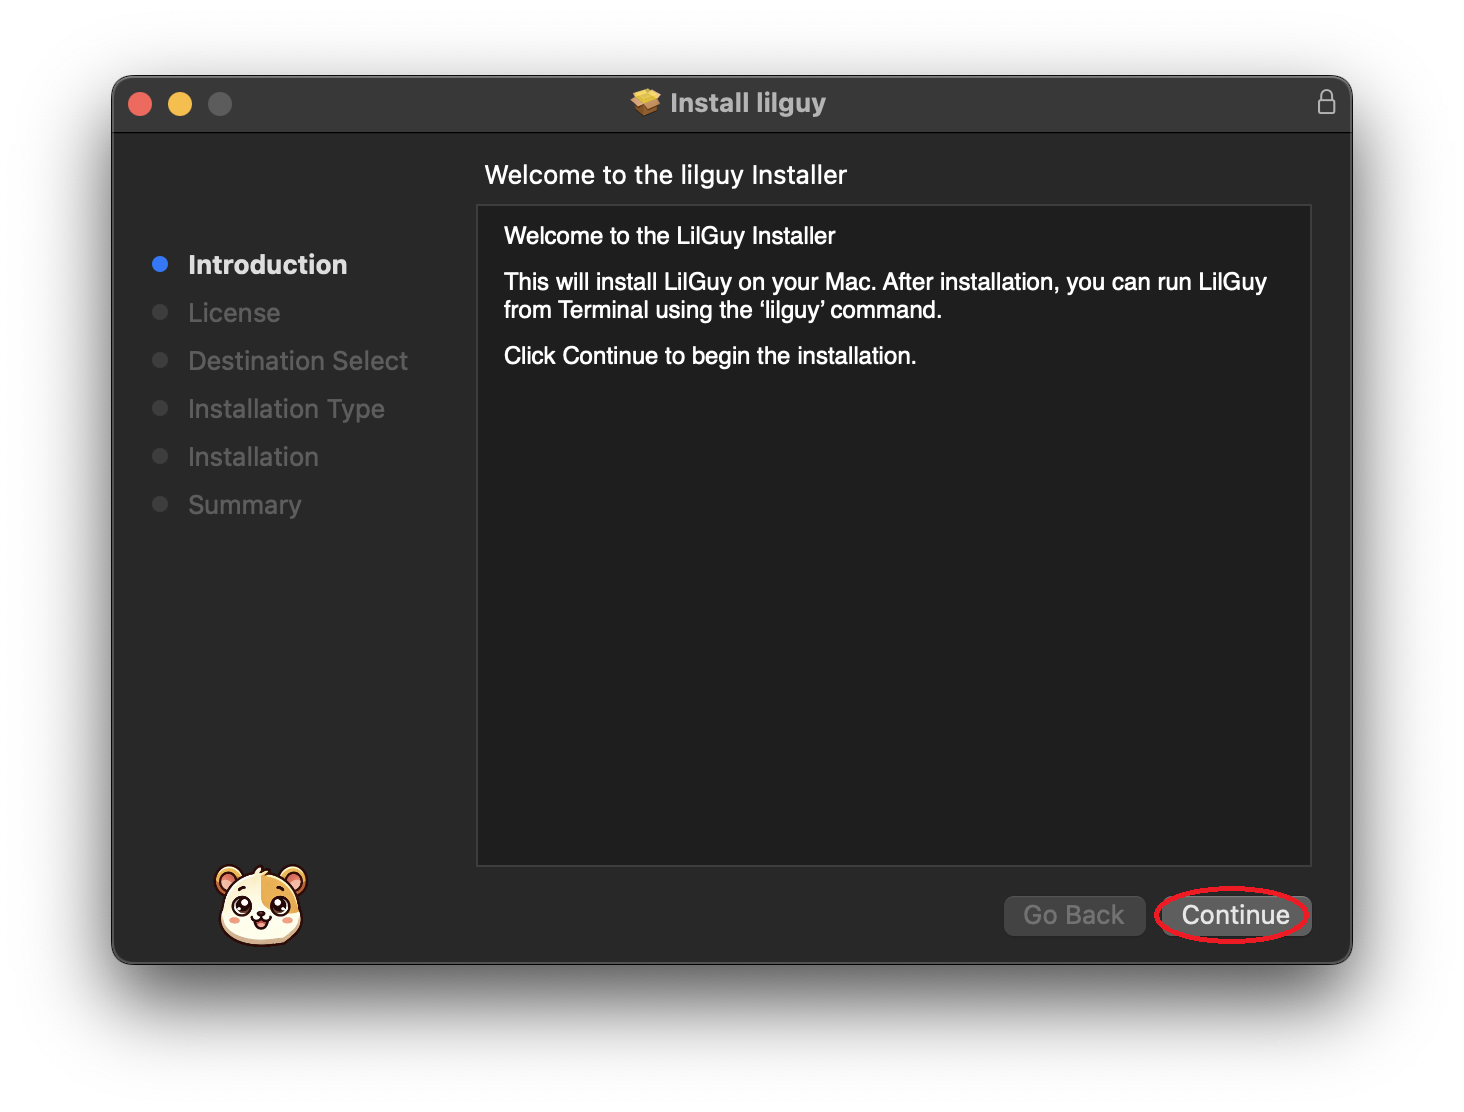
- This will open the Install LilGuy window. To proceed, click Continue.
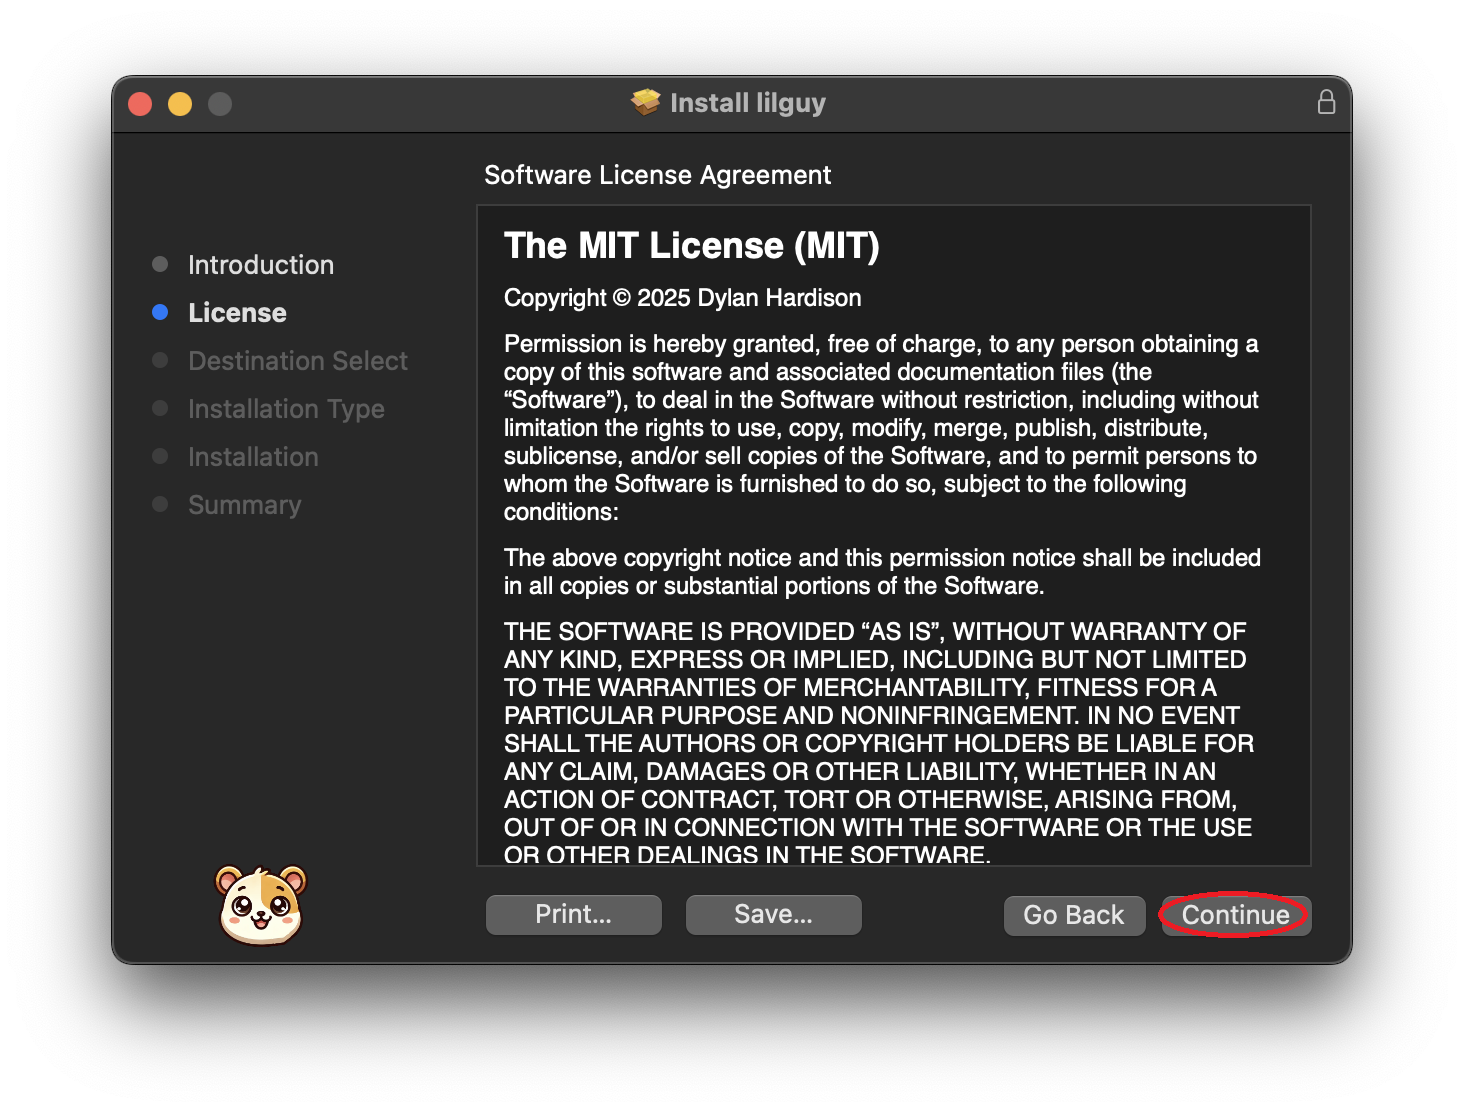
- The next window will show the MIT License for the software. To proceed, click Continue.
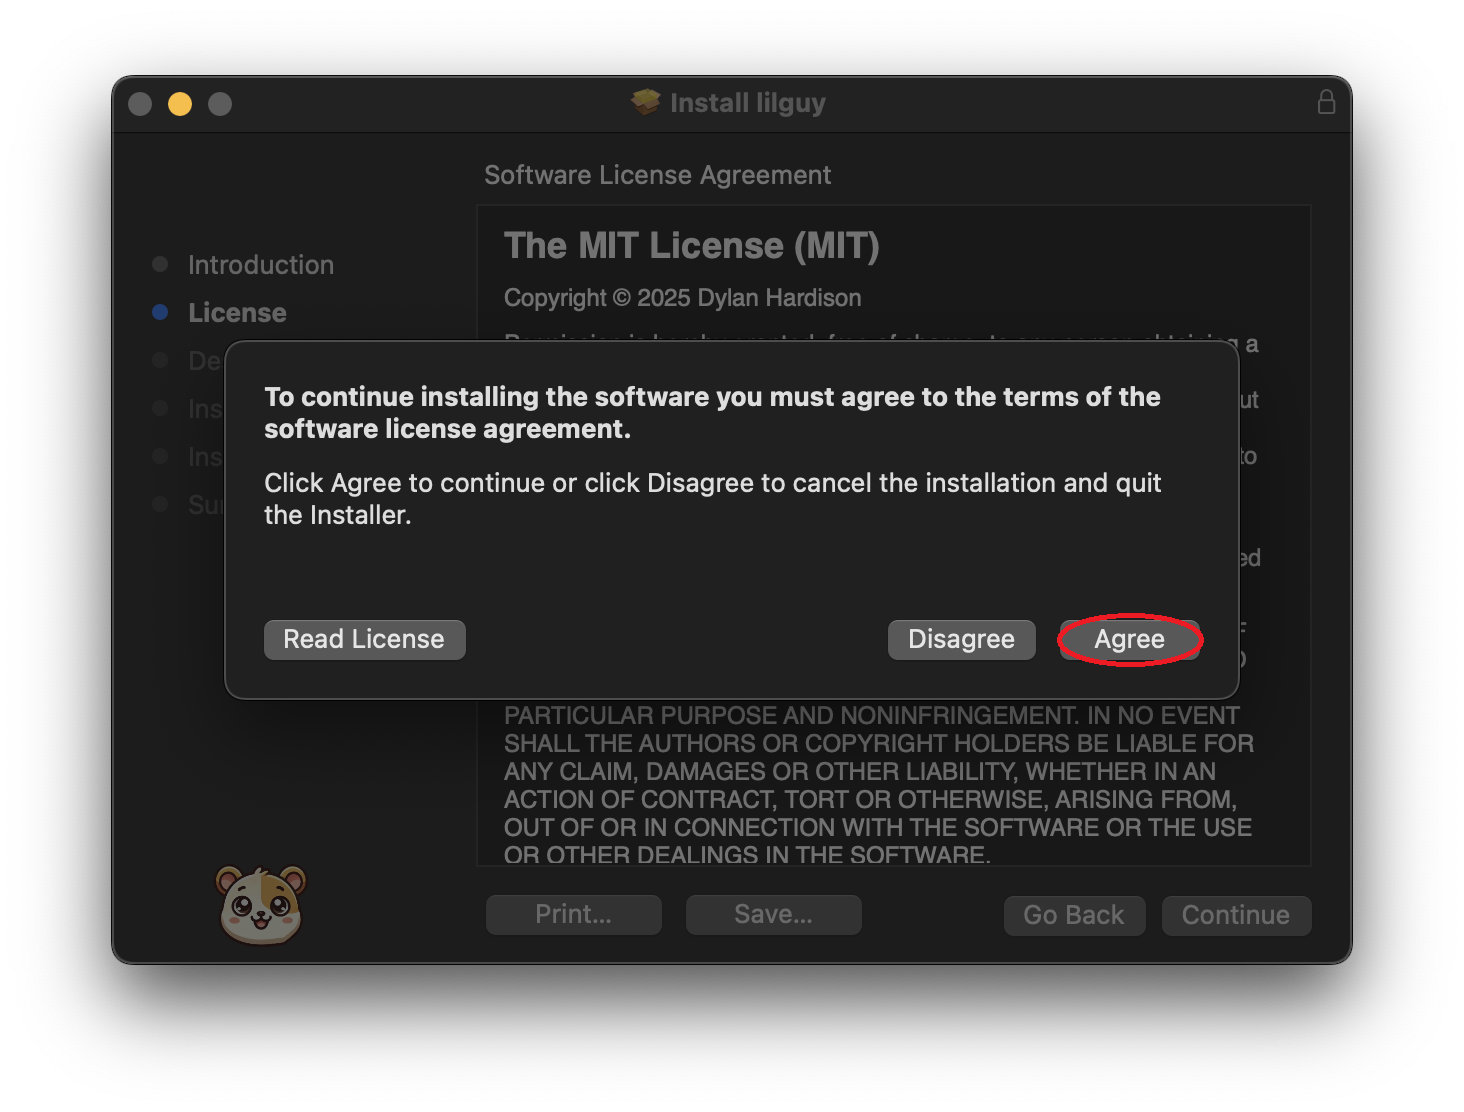
- A dialog window will appear. To accept the license, click Agree.
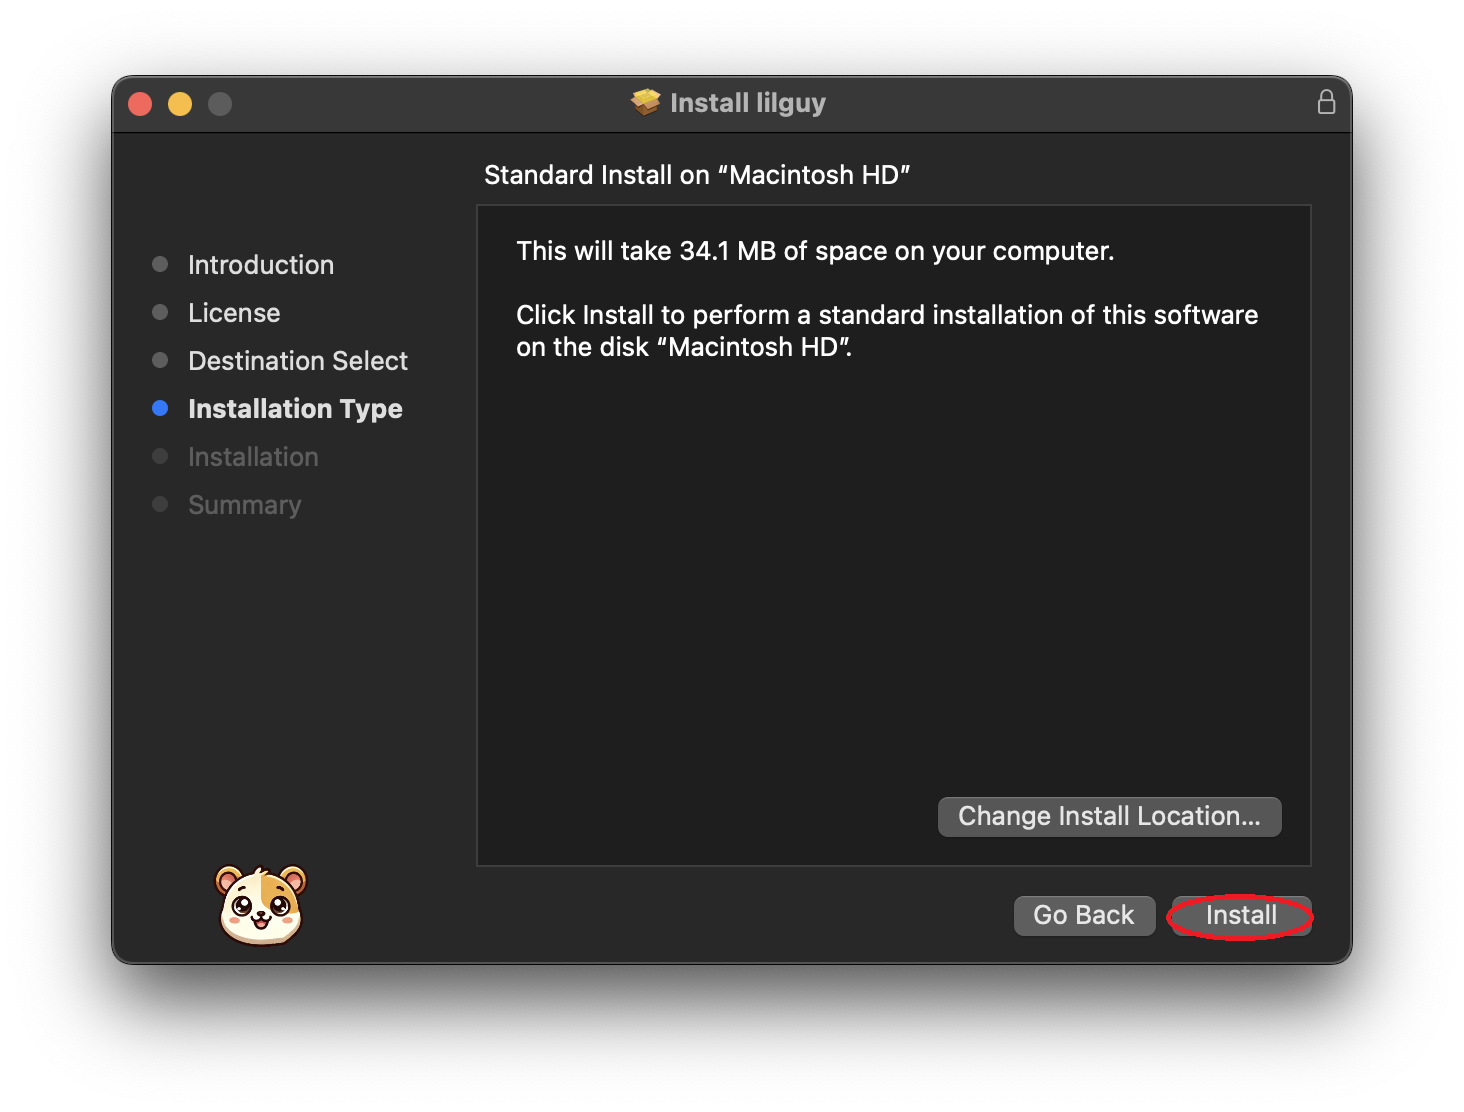
- On the Installation Type window, click Install.
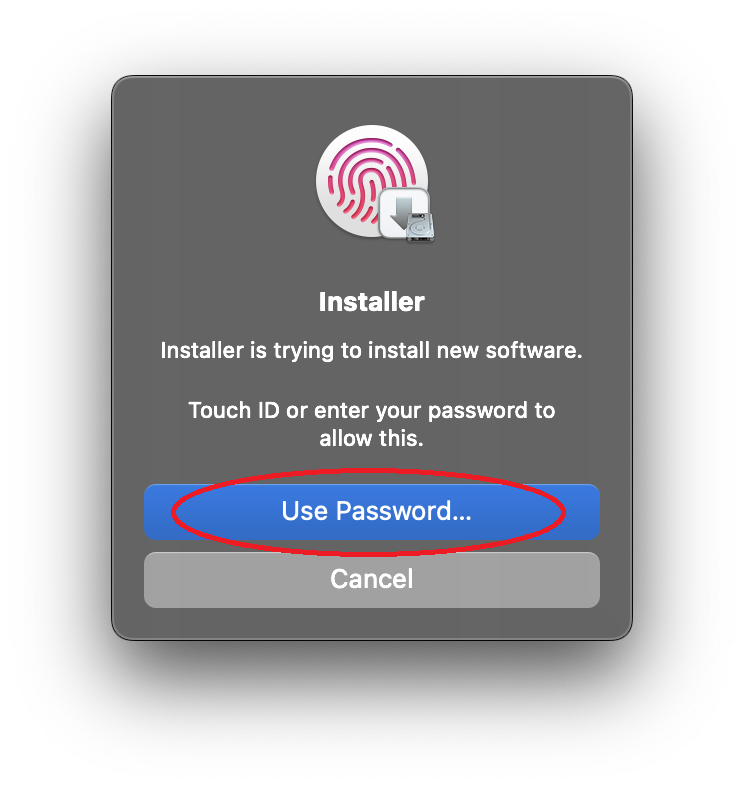
- Use Touch ID or click Use Password on the Installer .
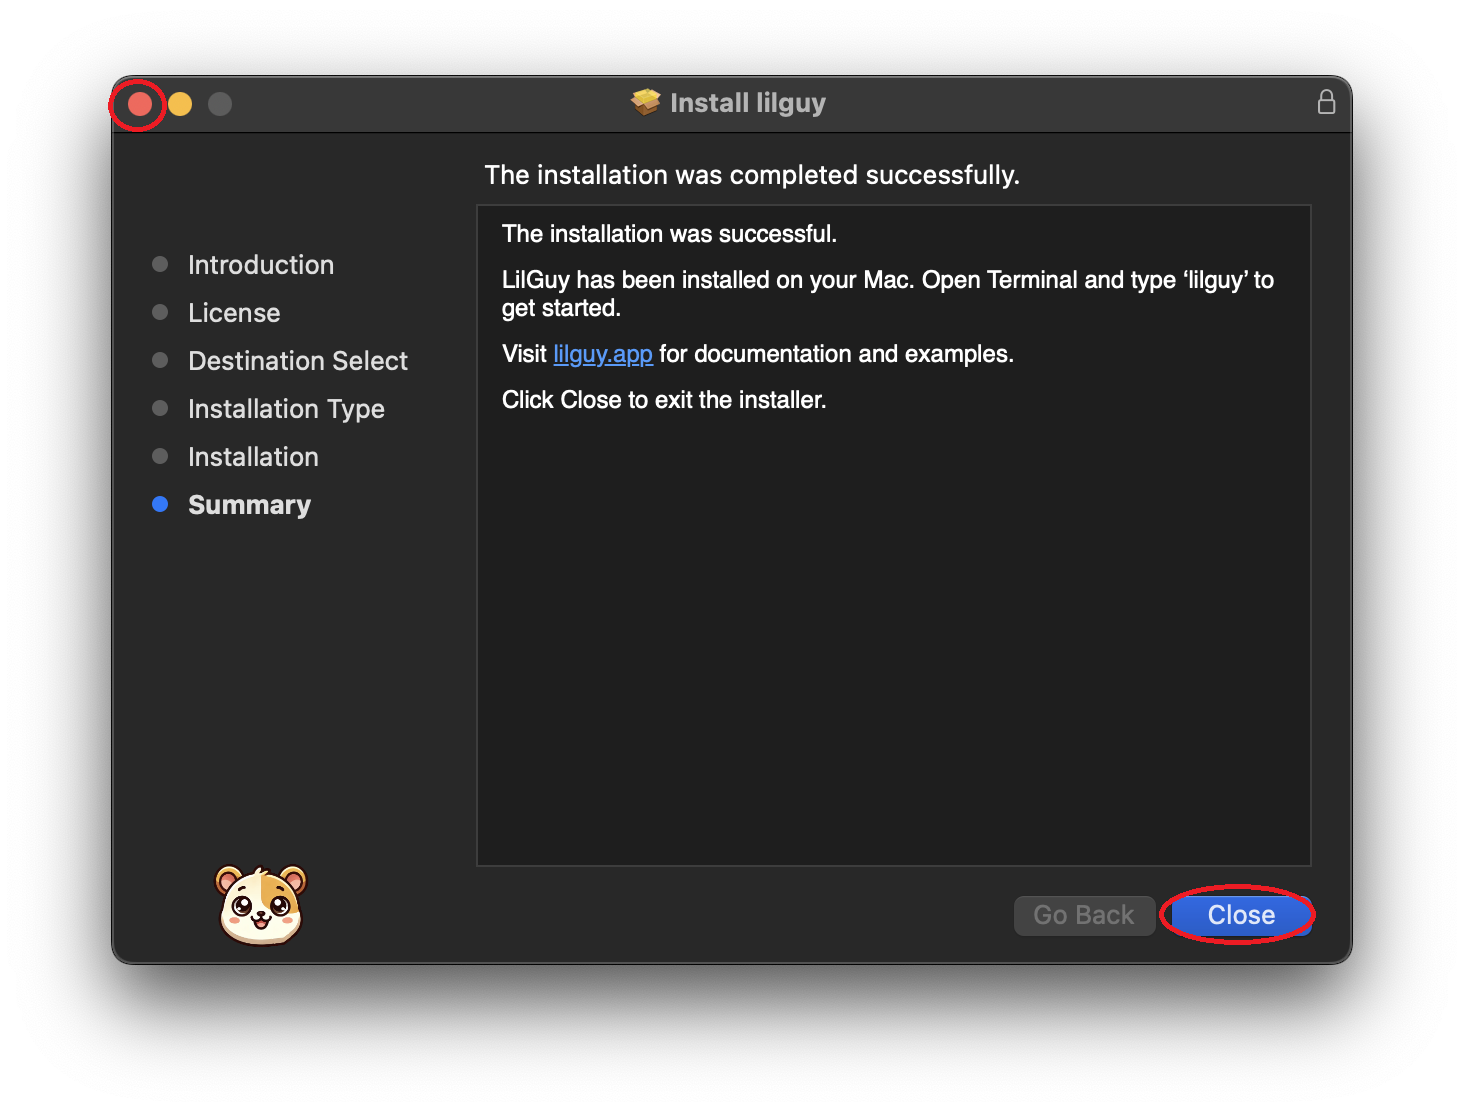
- The final window will confirm that the software has been successfully installed. Click Close or close the window.
Uninstall (for Mac)
-
The LilGuy file can be deleted from the usr/local/bin/lilguy path which will remove the program from the computer.
- Linux x86_64: Download lilguy-0.1.3-linux-x86_64.tar.zst
- Linux ARM_64: Download lilguy-0.1.3-linux-aarch64.tar.zst
- FreeBSD x86_64: Download lilguy-0.1.3-freebsd-x86_64.tar.zst
Other Systems
Currently, packages for Linux and FreeBSD are available.
LilGuy packages created by the community will be added to this page as they become available.